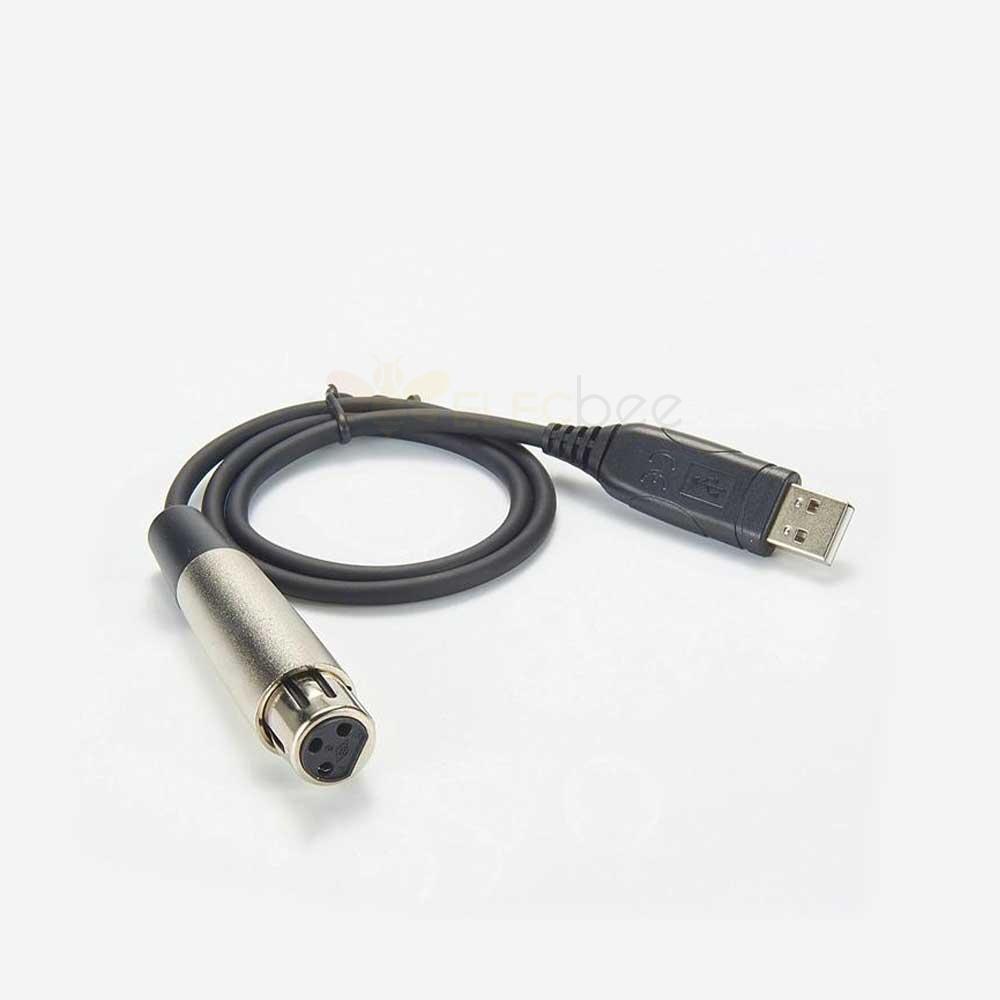
XLR cables are a type of electrical connector primarily used in professional audio, video, and stage lighting equipment. They are known for their durability, reliability, and ability to transmit high-quality audio signals over long distances. In this article, we will explore the basics of XLR cables, their construction, and their applications in the audio industry.
What is an XLR Cable?
XLR cables are a form of balanced cable, which means that they have three conductors: positive, negative, and ground. In most normal applications, pin 1 is ground, pin 2 is positive, and pin 3 is negative. The positive and negative signals are transmitted with equal amplitude and opposite polarity, which helps to cancel out any noise or interference that may be picked up along the cable. This is why XLR cables are often used in professional audio settings, where high-quality sound reproduction is essential.

Construction of an XLR Cable
XLR connectors are cylindrical in design, with three to seven connector pins. They are available in male and female versions, and can be used for both cable and chassis mounting. The connectors are made up of alloy (usually zinc) and plastic, and are designed to be durable and long-lasting.
The internal structure of an XLR cable is also important for its performance. For example, some XLR cables use a star quad configuration, which means that they have four wires in a cross-connected arrangement. This design helps to further reduce noise and interference, making the cable ideal for professional audio applications.
Applications of XLR Cables
XLR cables are used in a wide range of audio applications, including:
- Microphones: XLR cables are the standard for connecting microphones to audio interfaces, mixers, and other audio equipment. They provide a reliable and high-quality connection, ensuring that the microphone's signal is accurately reproduced.
- Studio Monitors: XLR cables are also used to connect studio monitors to audio interfaces or mixers. This allows for a balanced audio signal to be sent to the monitors, resulting in a cleaner and more accurate sound reproduction.
- Live Sound: In live sound settings, XLR cables are used to connect microphones, instruments, and other audio sources to the main mixing console. They are also used to connect the mixing console to the main speakers or amplifiers, ensuring a balanced and high-quality audio signal throughout the venue.
- Recording Equipment: XLR cables are essential for connecting audio interfaces, preamps, and other recording equipment to microphones and instruments. They provide a reliable and noise-free connection, allowing for high-quality recordings to be made.
- DJ Equipment: XLR cables are often used in DJ setups to connect mixers, turntables, and other audio sources. They provide a secure and high-quality connection, ensuring that the music is reproduced accurately and without any interference.
DIY XLR Cable Building
Building your own XLR cables can be a fun and rewarding project, and it can also save you money in the long run. Here are some basic steps to follow when building your own XLR cables:
- Gather the necessary materials: You will need XLR connectors, a suitable cable (such as Canare L-4E6S Quad Mic Cable), and some soldering equipment.
- Prepare the cable: Strip the outer insulation of the cable to expose the inner wires. Separate the copper shielding from the two conductors inside the cable and twist the individual strands of copper together.
- Solder the wires to the connector: Attach the positive and negative wires to their respective pins on the XLR connector. The cable's shielding should be connected to pin 1, which is the ground.
- Test the cable: Once you have soldered the wires to the connector, use a multimeter to check for continuity and to ensure that there are no short circuits or other issues with the cable.
By following these steps, you can create your own custom-length XLR cables that are tailored to your specific needs. This can be especially useful in a studio or live sound setting, where cable management and organization are important.
Conclusion
XLR cables are an essential tool in the audio industry, providing a reliable and high-quality connection for microphones, instruments, and other audio sources. Their balanced design and durable construction make them ideal for both studio and live sound applications. Whether you choose to buy pre-made XLR cables or build your own, it's important to understand the basics of how they work and how to properly use and maintain them. With the right knowledge and equipment, you can ensure that your audio signals are always clean, clear, and free from interference.


