Parameters:
1. Input voltage: 4-13 V (when using the pad input, pay attention to the positive and negative poles, DO NOT connect the AC power)
2. Output voltage: 0.5-30 V
3. Output current: 0-2 a (the output current in constant voltage mode depending on the size of the load is adaptable, it is not adjustable.) If you set the limit current to 1 A, then the load current is greater than 1 A, the constant current mode 1A will be entered automatically)
4. Output power: less than 15 W (when the output power is greater than 15 W, the output is automatically turned off and the operation is displayed). After reducing the load power, press the on/off button to fix it). When the input current is too large, it can be turned off early due to temperature protection.
5. Voltage display: Resolution 0.1 V, factory accuracy ± 0.1 V plus or minus (can be corrected manually after comparing with the standard voltmeter)
6. Current screen: Resolution 0.01A, range 0-2.2A, factory accuracy ± 0. 05A; the display error is greater when the output current is less than A, a small current cannot be displayed within 10-40 mA (it can be corrected manually, the calibration of the output current is more accurate when it is greater than 1 A, and calibration is not recommended for small currents.)
7. Power display: 0.00W-15.0W
8. Temperature protection: when the temperature of the power component is higher than 100 ° C, enter the OT protection, reduce the load power, press the on / off button to solve it (the power will not introduce the OT protection for an operation to long term in 10 W, when the input current is greater than 3A, You can introduce protection against overtemperature when it works for a long time, even if it does not rea ch 15 W)
9. Operating current: approximately 30 mA
10. Charging anti-backflow: Yes, it can be directly connected to the battery for charging, no need to add a diode
11. Short circuit protection: Yes, it can be directly connected to the battery for charging, no need to add a diode
12. Weight: 30g with outer casing, without housing 20g
Description of the function:
1. Button:
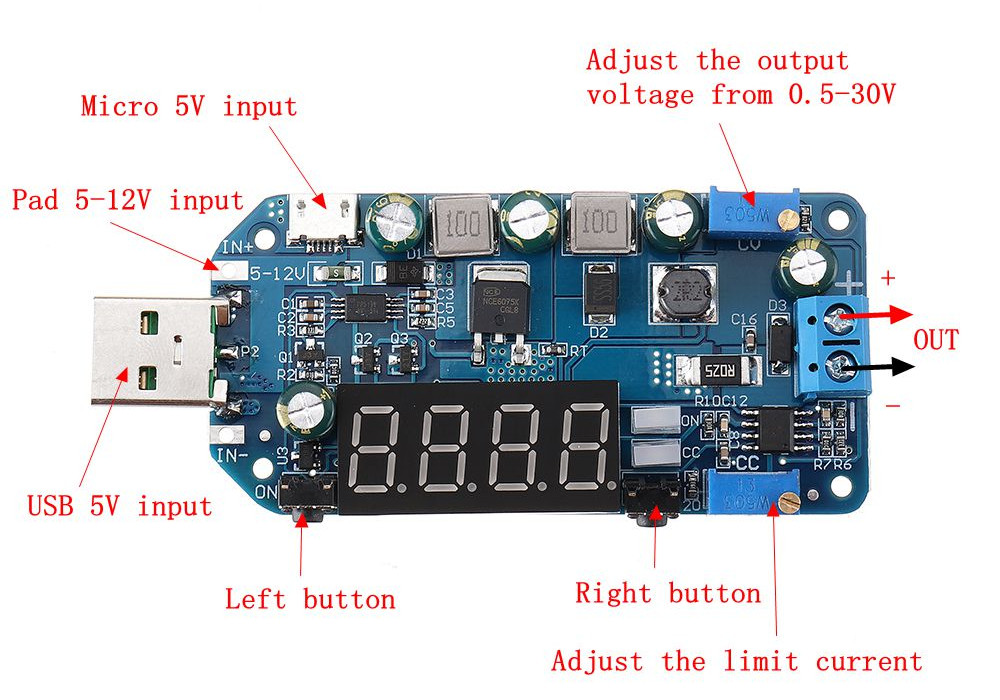
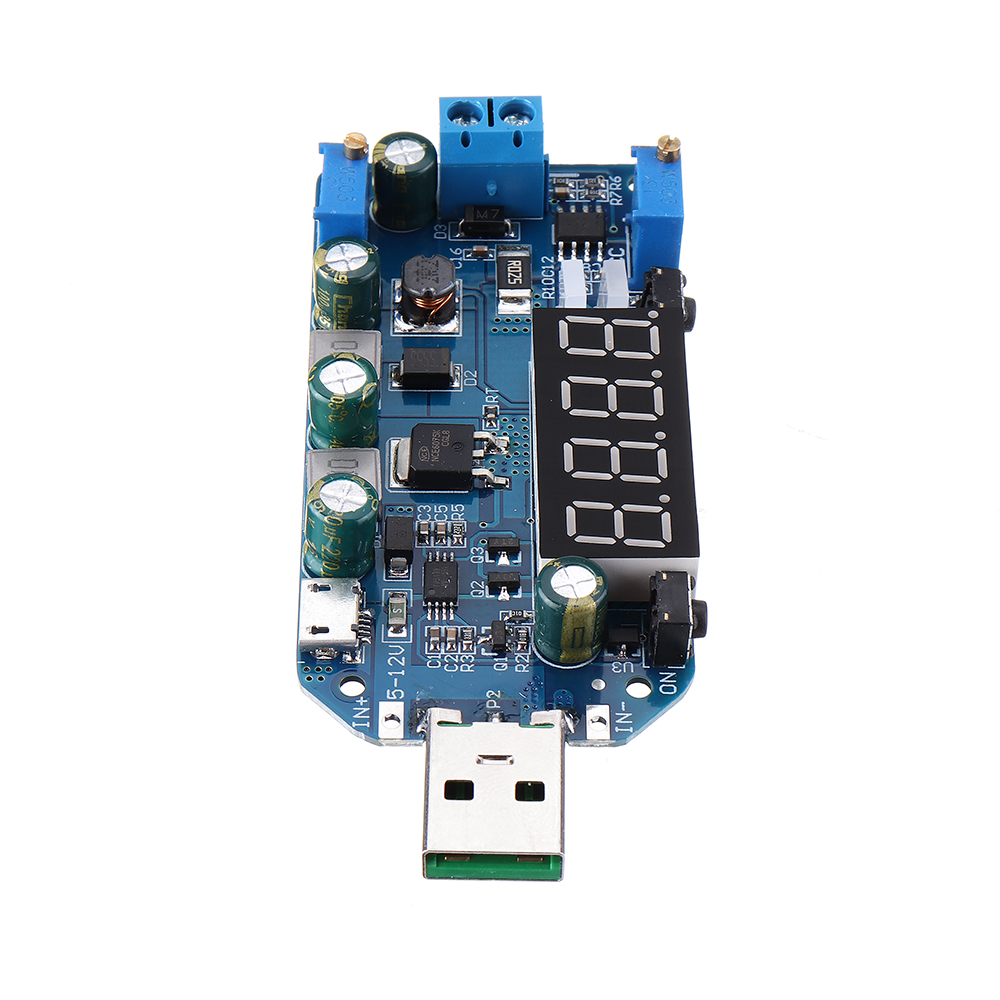
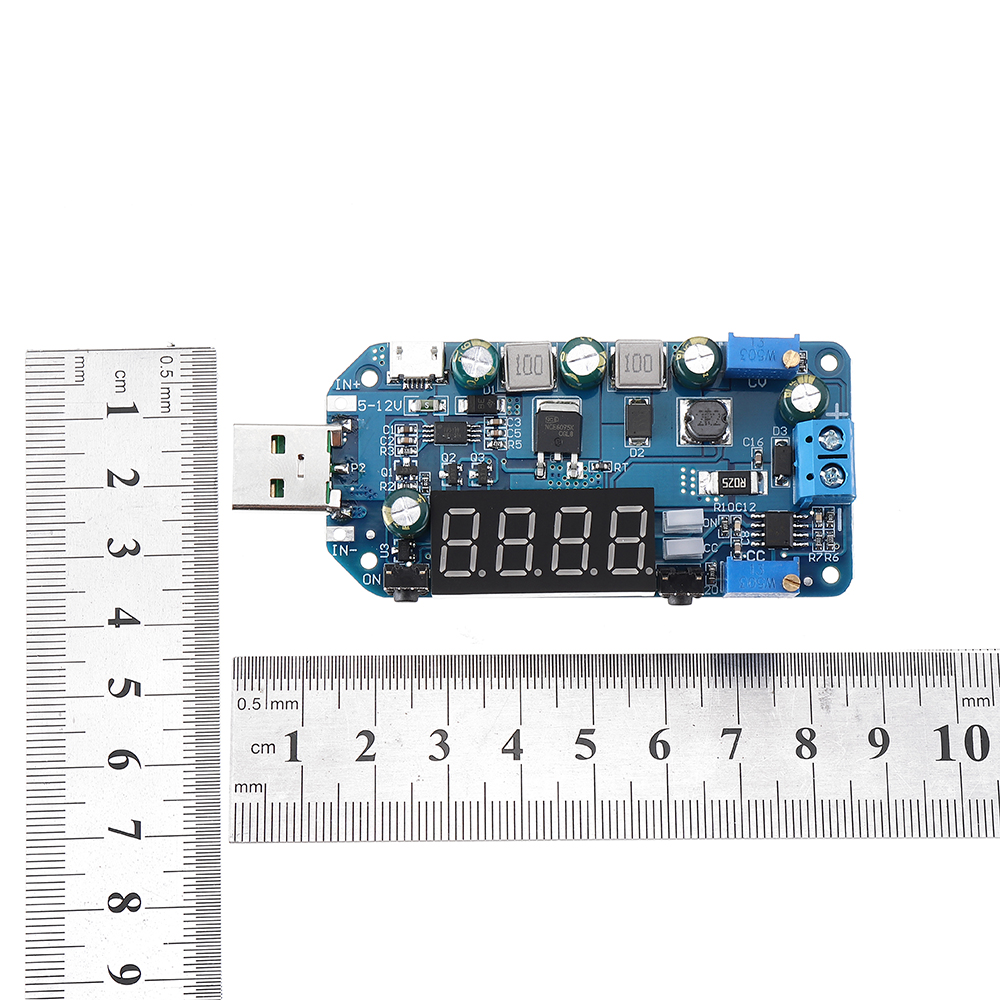
"Select" button: short pressure switch between voltage, current, power, wheel display; Long press or exit calibration mode;
"On / off button button: short pressure control of the output end that turns on or off; long pressure: set the default power on to be off or on, press to release more than 3 s, it will be displayed for each power-by default there is an output, and the screen off means there is no default output each time turn on the energy.
2. Potentiometer:
The current adjustment potentiometer CC turns clockwise to increase the current limit value. When the charging current reaches the limit current, it enters the constant current state (keep in mind that the output current can be increased without adjusting the potentiometer.) At constant voltage, the output current only depends on the load, varies according to load);
Maximum output current (constant current value) Configuration method: Switch to the current screen, shorten directly the output terminal to adjust the DC potentiometer.
The CV voltage adjustment potentiometer rotates clockwise to increase the output voltage.
3. The indicator lights:
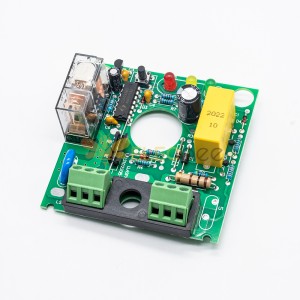
CC - Constant current indicator light, bright when the constant current (red);
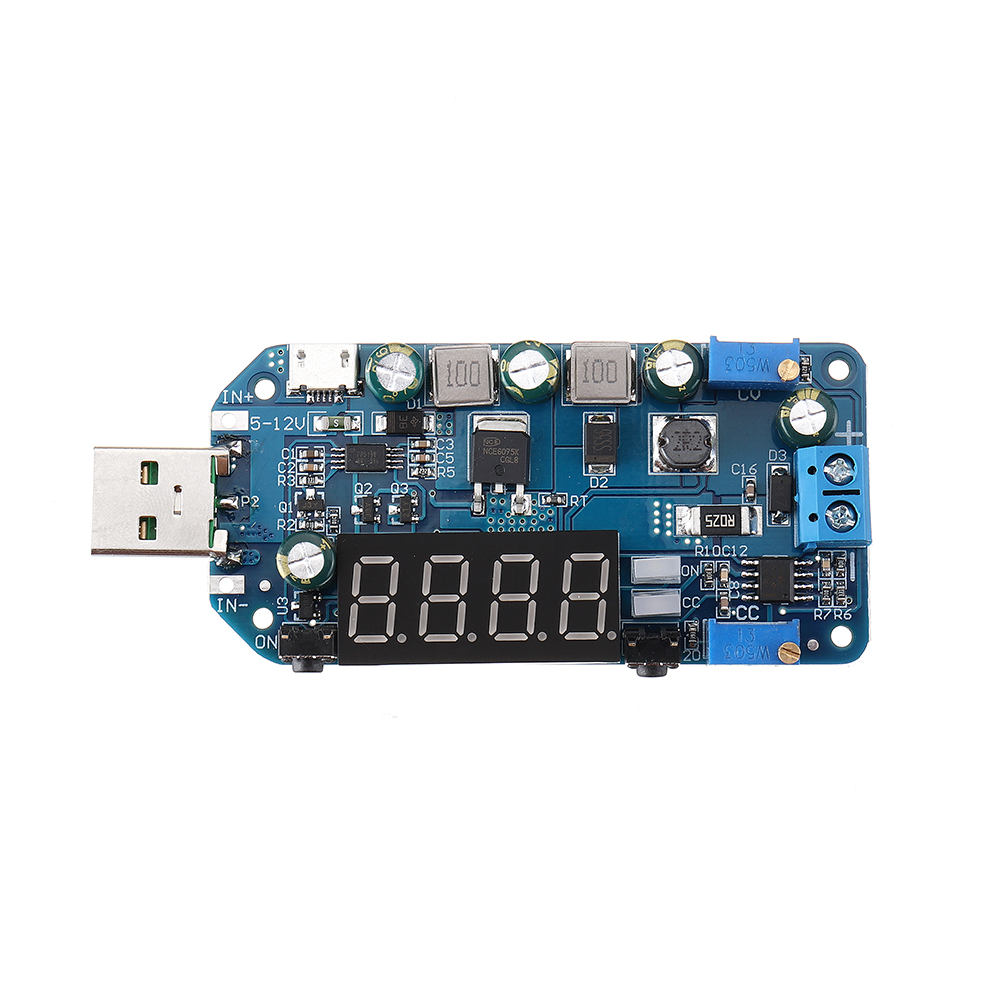
ON - Status indicator on the output (green);4. Input and output ports:Input: left side, USB male, micro USB, pad three ways to select as input
Output: right side, blue 2P terminal as outputAccuracy calibration method:
When the output voltage is calibrated, the digital tube always displays the voltage. Press and hold the “SELECT” button for more than 3 seconds to release. The digital tube flashes. Press the “SELECT” button briefly to increase the voltage value by one unit. Short press the “ON/OFF” button voltage. The value is reduced by one unit. When the output voltage is low, it may take several times to see the value change 0.1V;
Output current calibration When a digital tube always displays current, press and hold the “SELECT” button for more than 3 seconds to release, the digital tube flashes, short press the “SELECT” button, the voltage value increases by one unit, short press the “ON/OFF” button voltage. The value is reduced by one unit. It may take several times to see the value change 0.01A. Press and hold the “SELECT” button for more than 3 seconds to release and exit the calibration mode.
Note:
The calibration is more accurate when the current is greater than 1A; the display error is large when the output current is less than 0.05A.
It may not be displayed when the output current is less than 10-40mA.
5 x ModuleThree power supply modes, the actual power supply range is 4-13V
ON indicator: Lights up when the output is turned on, otherwise it is off.
CC indicator: Lights up when constant current (reaching current limit), otherwise it is off.
Left button: Short press - control ON/OFF or "minus" in the calibration mode; long press - to set the power-on default output ON/OFF.
Right button: Short press - switch to display output voltage, output current, output power, wheel display; long press - enter or exit calibration mode.
