

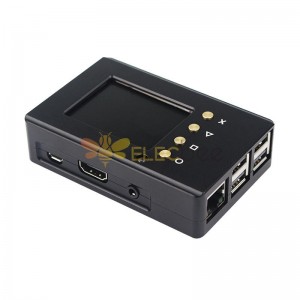
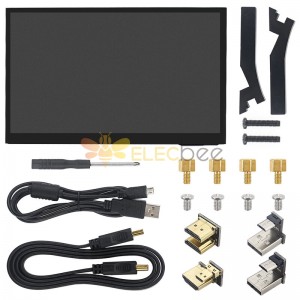
5 Inch 800x480 HDMI Touch Capacitive LCD Screen With OSD Menu For Raspberry Pi 3 B+ / BB Black


- Description
- Type: OLED&LCD Screen
Precise details:
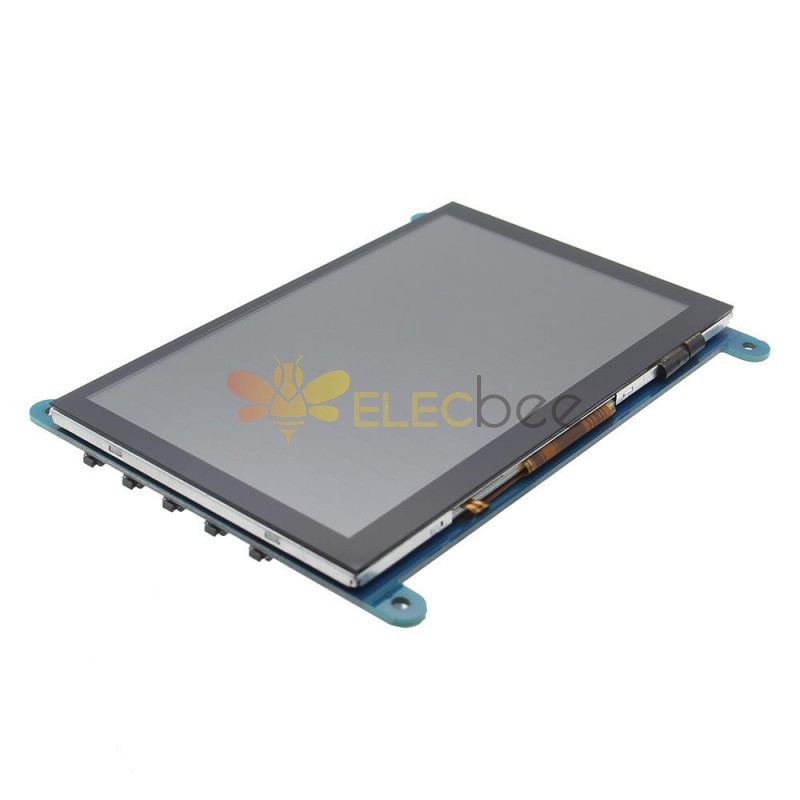
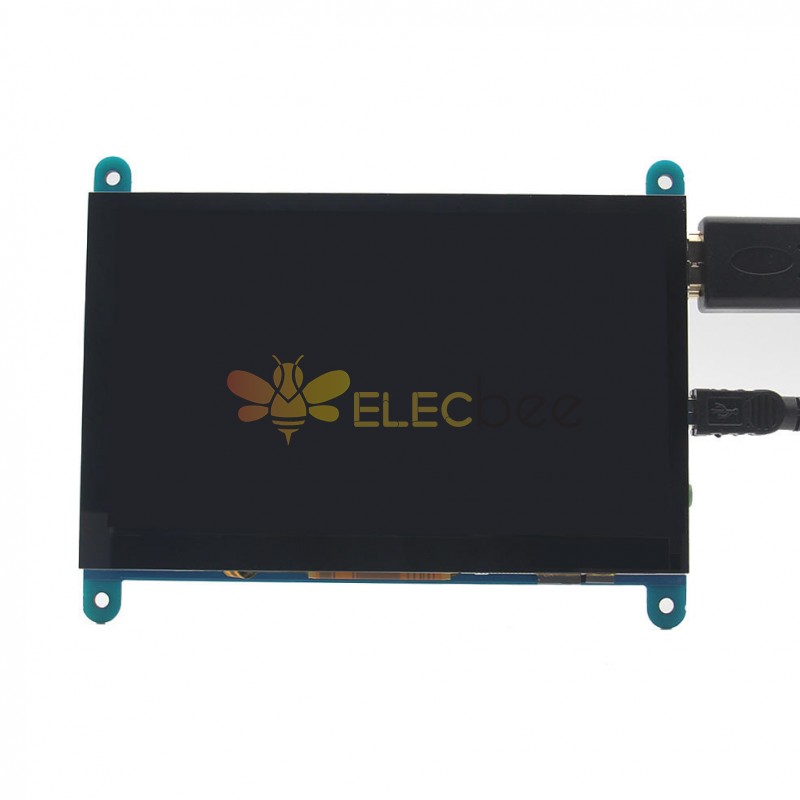
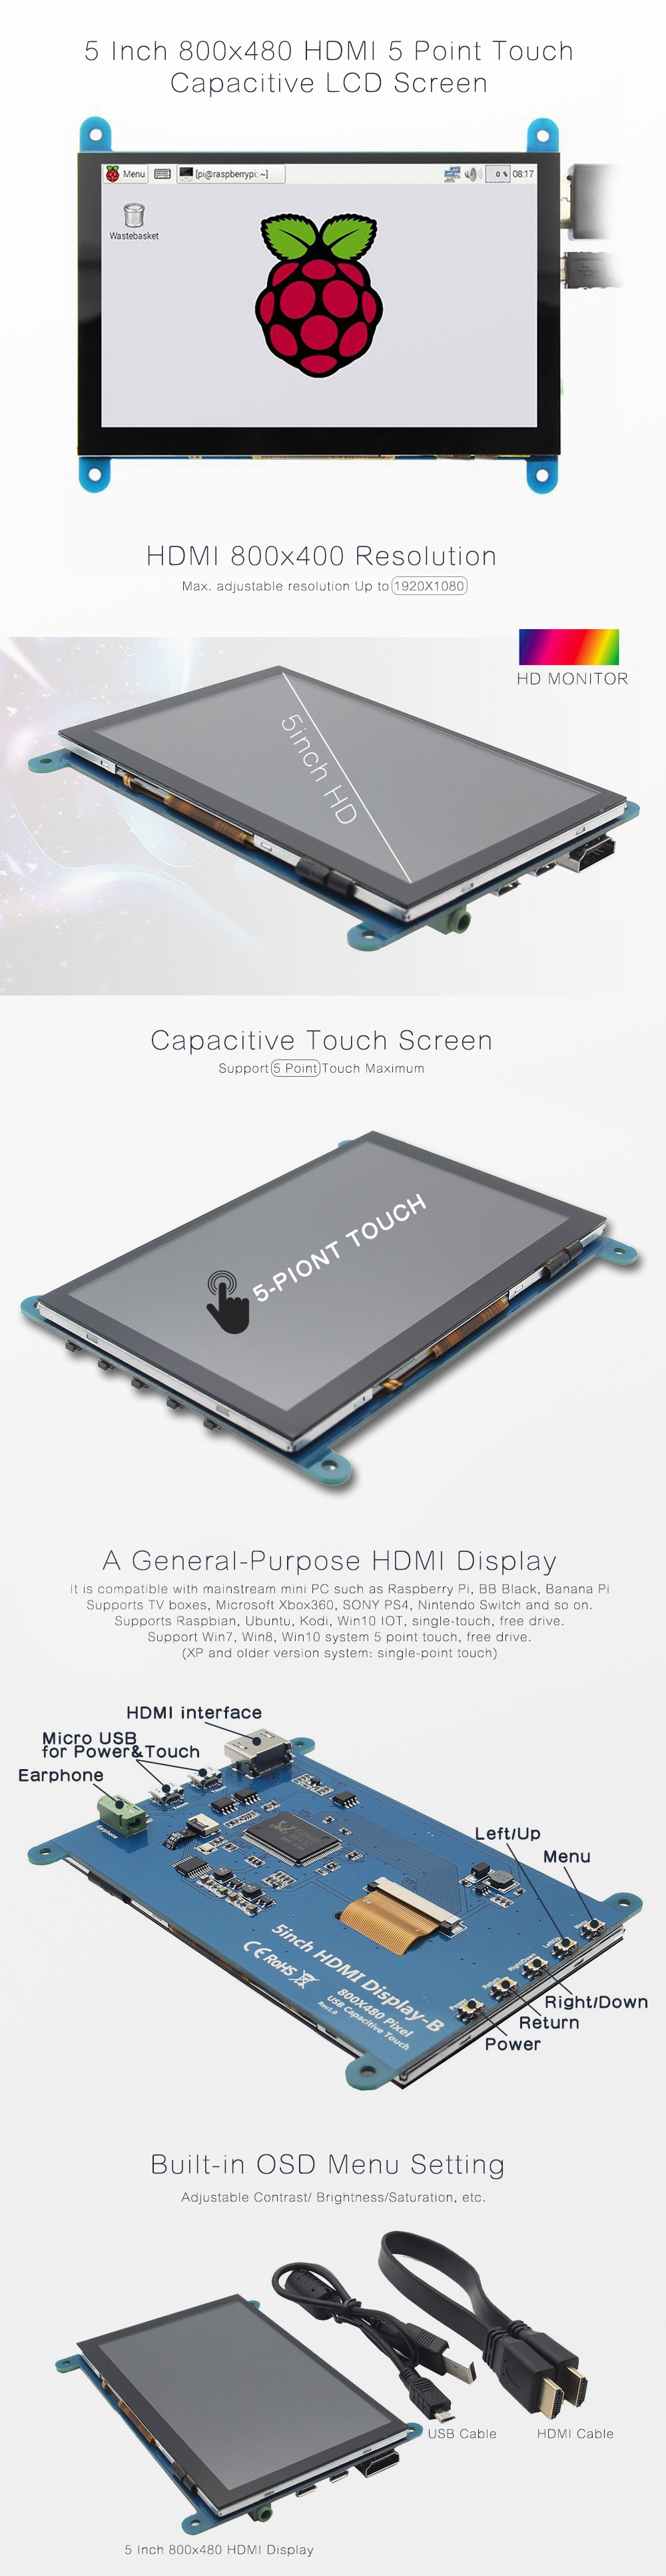
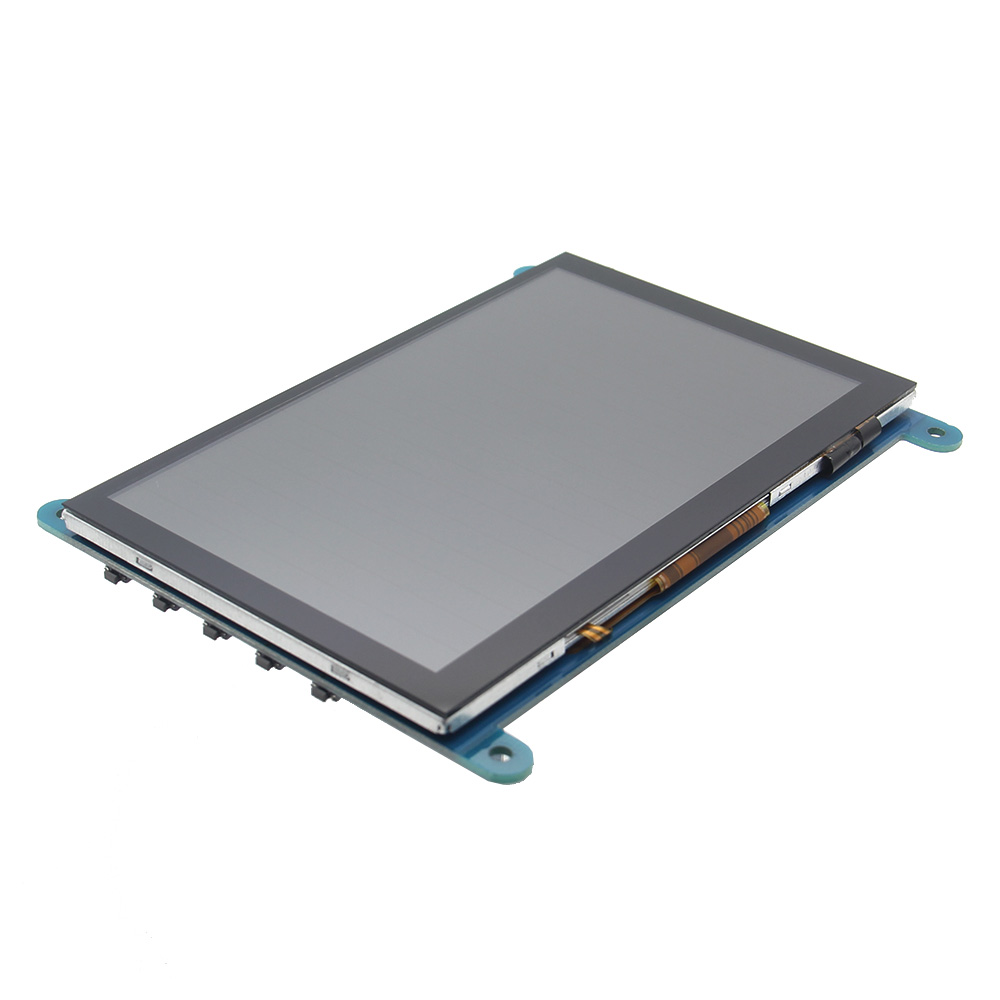
Overview:-5" standard display, 800x480 resolution
-Capacitive touch screen, support 5 point touch maximum
-Built-in OSD menu adjustment function (adjustable Contrast/ Brightness/Saturation, etc.)
-It is compatible with mainstream mini PC such as Raspberry Pi, BB Black, Banana Pi
-It can also be used as a general-purpose HDMI display, connecting computers, TV boxes, Xbox360, and so on
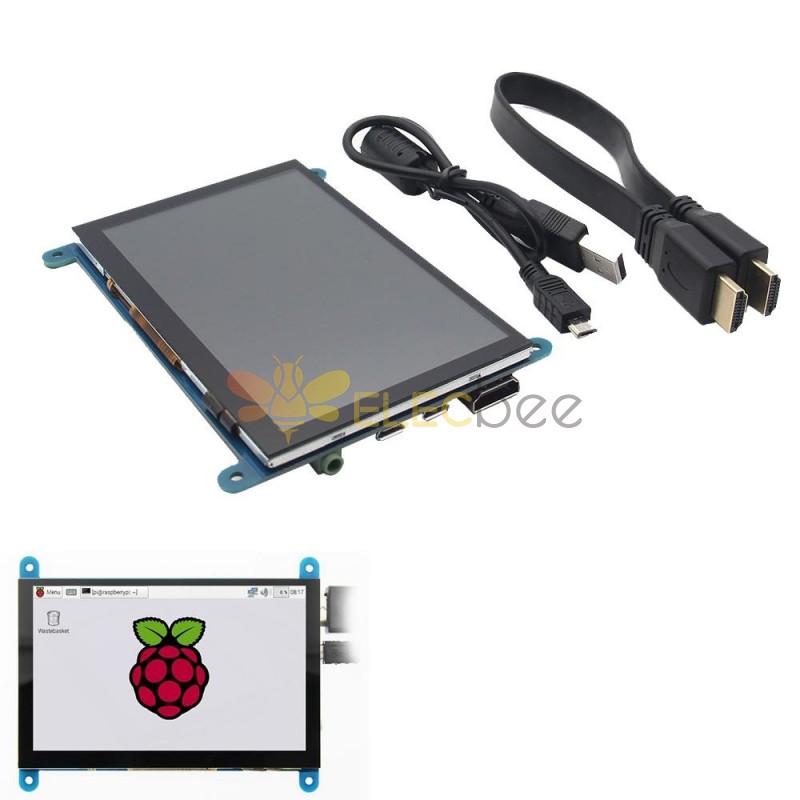
-Used as a Raspberry Pi display that supports Raspbian, Ubuntu, K0 di, Win10 IOT, single-touch, free drive
-Work as a PC monitor, support Win7, Win8, Win10 system 5 point touch (XP and older version system: single-point touch), free drive
-Support HDMI audio output
-Passed CE, RoHS certification
Specifications:
Size: 5.0 (inch)
Resolution: 800x480(dots), maximum HDMI resolution 1920X1080 is supported
Touch: 5 point capacitive touch
Audio output: support
Dimensions: 121.11x95.24(mm)
Weight: 248 (g)
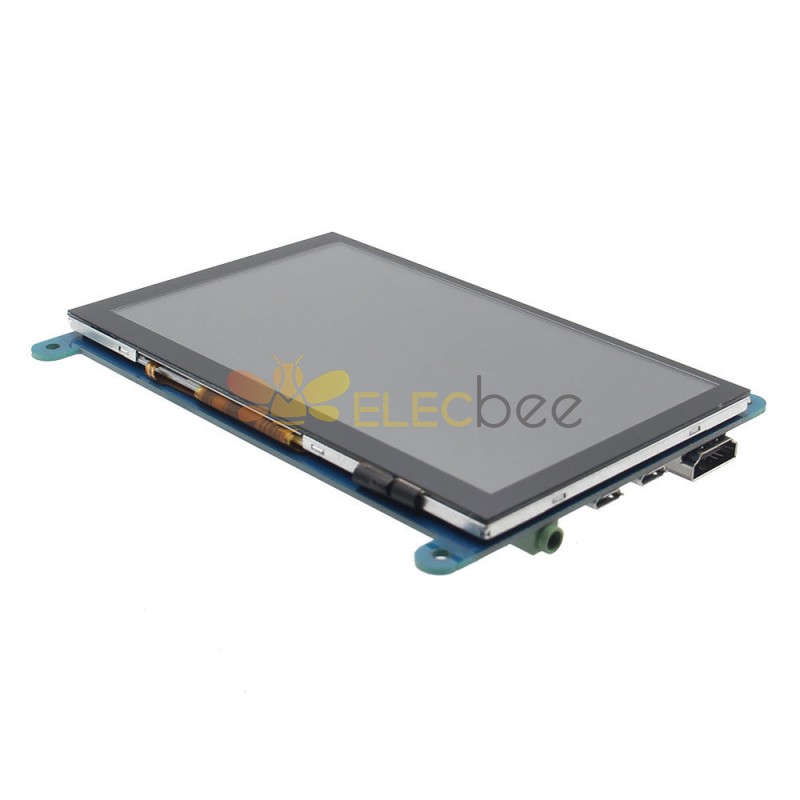
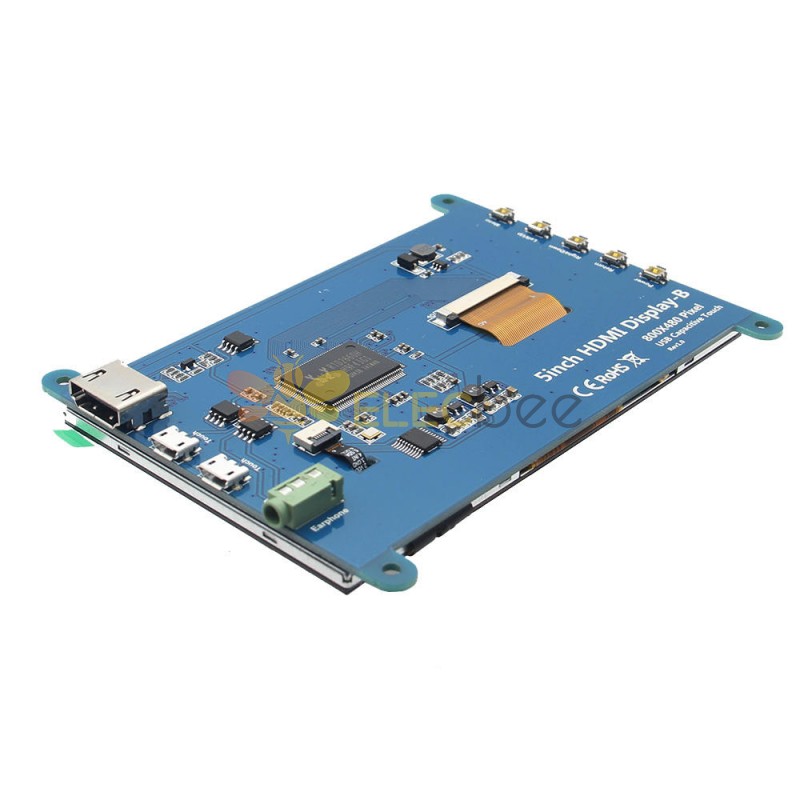
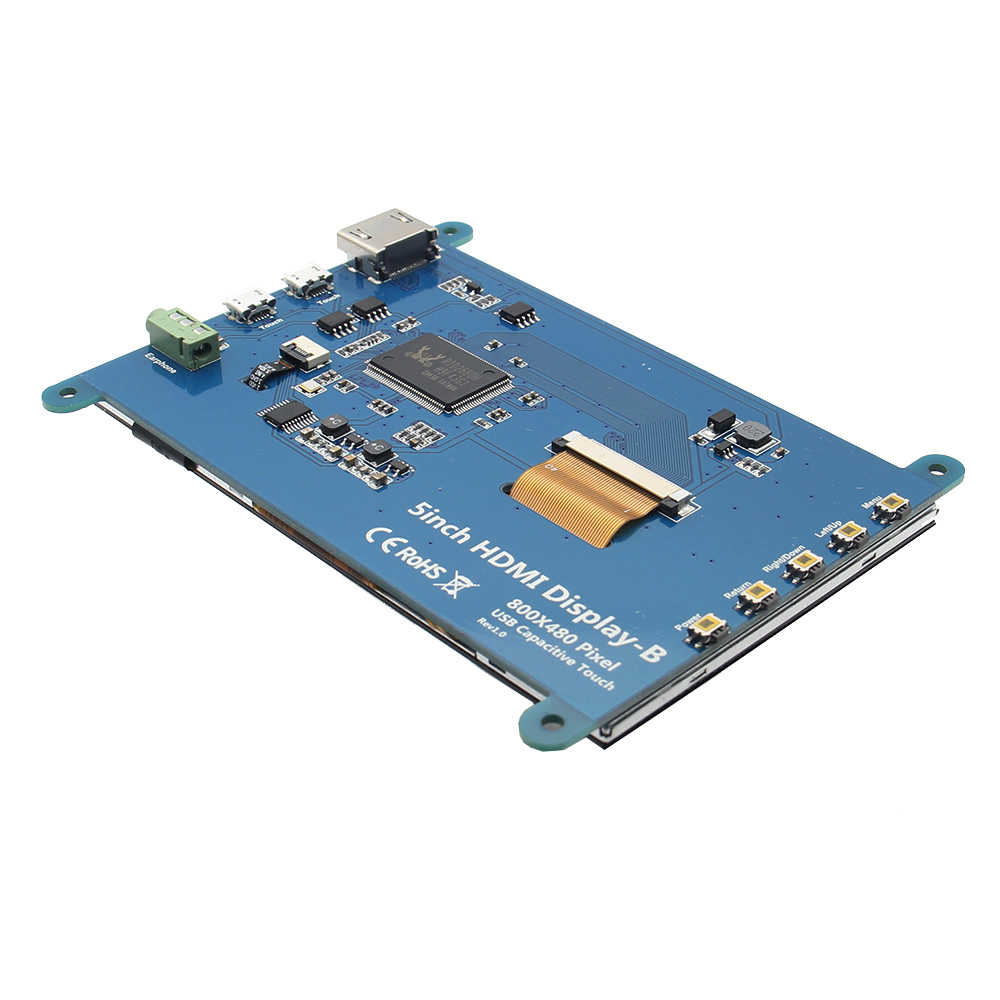
Hardware Description:
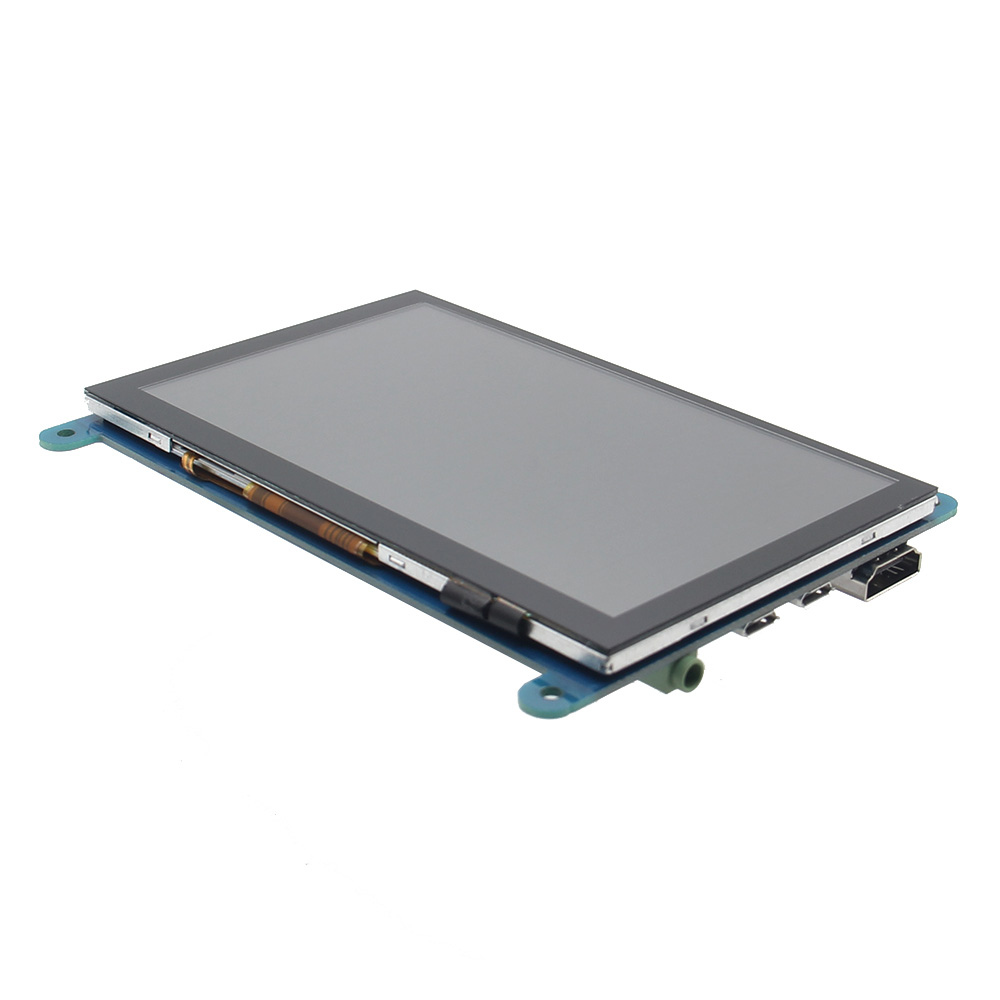
Earphone: 3.5mm Audio output interface
Touch: USB connector(For power supply and touch output, the functions of the both are the same, can just use one of them)
Display: HDMI interface(For connecting motherboard and LCD monitor)
Power: Controls the backlight turned on and off to save power
Return: Return (Only valid in the OSD Settings menu)
Right/Down: Direction Right/Down (Backlight shortcut key0
Left/Up: Direction Left/Up(Backlight shortcut key)
Menu: Open the OSD / Select key(Only valid in the OSD Settings menu)
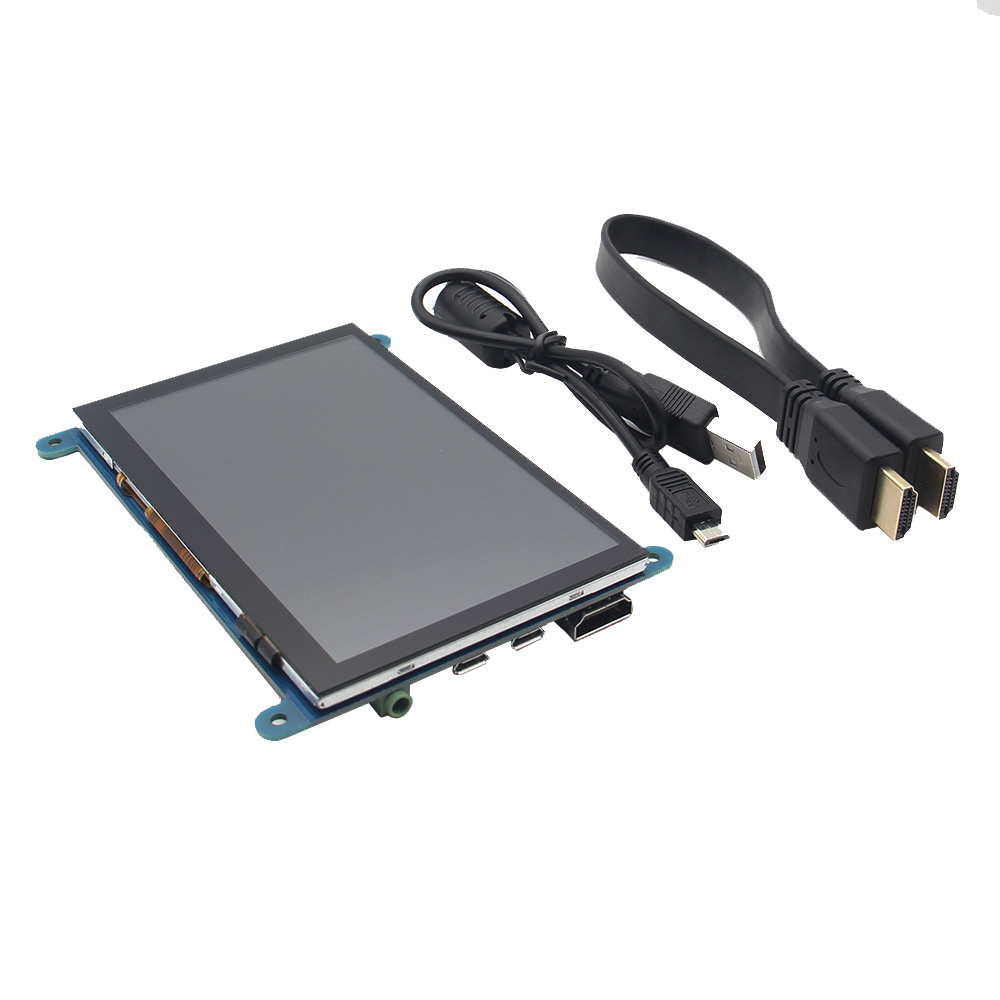
Packing Included:
1 x 5 inch HDMI Touch Screen (with install screws)
1 x HDMI Cable (about 31.5cm/12.40inch)
1 x USB Cable(about 42.5cm/16.73inch)
Step 1: Install Raspbian official image
1) Download the latest image from the official download.
2) Install the system according to the official tutorial steps.
Step 2: modify the “config.txt” After the programming of Step1 is completed, open the config.txt file of Micro SD Card root directory and add the following code at the end of the file, save and eject Micro SD Card safely:
max_usb_current=1
hdmi_force_hotplug=1
config_hdmi_boost=7
hdmi_group=2
hdmi_mode=1
hdmi_mode=87
hdmi_drive=1
hdmi_cvt 800 480 60 6 0 0 0
Step 3: Insert the Micro SD Card to Raspberry Pi, connect the Raspberry Pi and LCD by HDMI cable; connect USB cable to one of the four USB ports of Raspberry Pi, and connect the other end of the USB cable to the USB port of the LCD; then supply power to Raspberry Pi; after that if the display and touch both are OK, it means drive successfully (please use the full 2A for power supply).
How to rotate display direction:
1/ Add the statement in the “config.txt” file (the “config.txt” file is located in /boot):
display_rotate=1 #0: 0; 1: 90; 2: 180; 3: 270
2/ Restart the Raspberry Pi after saving.
sudo reboot
How to rotate Touch direction:
After the display is rotated, the touch needs to be modified.
1/ Install libinput
sudo apt-get install xserver-xorg-input-libinput
2/ Create the xorg.conf. D directory in /etc/x11 / below (if the directory already exists, this will proceed directly to step 3)
sudo mkdir /etc/X11/xorg.conf.d
3/ Copy the file “40-libinput.conf” to the directory you just created.
sudo cp /usr/share/X11/xorg.conf.d/40-libinput.conf /etc/X11/xorg.conf.d/
4/ Edit “/etc/X11/xorg.conf.d/40-libinput.conf”
sudo nano /etc/X11/xorg.conf.d/40-libinput.conf
Find a part of the touchscreen, add the following statement inside, press Ctrl+X to exit, press Y to save.
Option "CalibrationMatrix" "0 1 0 -1 0 1 0 0 1"
5/ Restar your Raspberry Pi
sudo reboot
Complete the above steps for a 90 degree rotation.
Note:
0 degrees of rotation parameters: Option "CalibrationMatrix" "1 0 0 0 1 0 0 0 1"
90 degrees of rotation parameters: Option "CalibrationMatrix" "0 1 0 0-1 1 0 0 1"
180 degrees of rotation parameters: Option "CalibrationMatrix" "1 0 0-1 1 0 0 1"
270 degrees of rotation parameters: Option "CalibrationMatrix" "0-1 1 1 0 0 0 0 1"
How to use as PC monitor:
Connect the computer HDMI output signal to the LCD HDMI interface by using the HDMI cable
Connect the LCD's USB Touch interface (Either of the two MicroUSB) to the USB port of the device
If there are several monitors, please unplug other monitor connectors first, and use LCD as the only monitor for testing.
-5" standard display, 800x480 resolution
-Capacitive touch screen, support 5 point touch maximum
-Built-in OSD menu adjustment function (adjustable Contrast/ Brightness/Saturation, etc.)
-It is compatible with mainstream mini PC such as Raspberry Pi, BB Black, Banana Pi
-It can also be used as a general-purpose HDMI display, connecting computers, TV boxes, Xbox360, and so on
-Used as a Raspberry Pi display that supports Raspbian, Ubuntu, K0 di, Win10 IOT, single-touch, free drive
-Work as a PC monitor, support Win7, Win8, Win10 system 5 point touch (XP and older version system: single-point touch), free drive
-Support HDMI audio output
-Passed CE, RoHS certification
Specifications:
Size: 5.0 (inch)
Resolution: 800x480(dots), maximum HDMI resolution 1920X1080 is supported
Touch: 5 point capacitive touch
Audio output: support
Dimensions: 121.11x95.24(mm)
Weight: 248 (g)
Hardware Description:
Earphone: 3.5mm Audio output interface
Touch: USB connector(For power supply and touch output, the functions of the both are the same, can just use one of them)
Display: HDMI interface(For connecting motherboard and LCD monitor)
Power: Controls the backlight turned on and off to save power
Return: Return (Only valid in the OSD Settings menu)
Right/Down: Direction Right/Down (Backlight shortcut key0
Left/Up: Direction Left/Up(Backlight shortcut key)
Menu: Open the OSD / Select key(Only valid in the OSD Settings menu)
Packing Included:
1 x 5 inch HDMI Touch Screen (with install screws)
1 x HDMI Cable (about 31.5cm/12.40inch)
1 x USB Cable(about 42.5cm/16.73inch)
Step 1: Install Raspbian official image
1) Download the latest image from the official download.
2) Install the system according to the official tutorial steps.
Step 2: modify the “config.txt” After the programming of Step1 is completed, open the config.txt file of Micro SD Card root directory and add the following code at the end of the file, save and eject Micro SD Card safely:
max_usb_current=1
hdmi_force_hotplug=1
config_hdmi_boost=7
hdmi_group=2
hdmi_mode=1
hdmi_mode=87
hdmi_drive=1
hdmi_cvt 800 480 60 6 0 0 0
Step 3: Insert the Micro SD Card to Raspberry Pi, connect the Raspberry Pi and LCD by HDMI cable; connect USB cable to one of the four USB ports of Raspberry Pi, and connect the other end of the USB cable to the USB port of the LCD; then supply power to Raspberry Pi; after that if the display and touch both are OK, it means drive successfully (please use the full 2A for power supply).
How to rotate display direction:
1/ Add the statement in the “config.txt” file (the “config.txt” file is located in /boot):
display_rotate=1 #0: 0; 1: 90; 2: 180; 3: 270
2/ Restart the Raspberry Pi after saving.
sudo reboot
How to rotate Touch direction:
After the display is rotated, the touch needs to be modified.
1/ Install libinput
sudo apt-get install xserver-xorg-input-libinput
2/ Create the xorg.conf. D directory in /etc/x11 / below (if the directory already exists, this will proceed directly to step 3)
sudo mkdir /etc/X11/xorg.conf.d
3/ Copy the file “40-libinput.conf” to the directory you just created.
sudo cp /usr/share/X11/xorg.conf.d/40-libinput.conf /etc/X11/xorg.conf.d/
4/ Edit “/etc/X11/xorg.conf.d/40-libinput.conf”
sudo nano /etc/X11/xorg.conf.d/40-libinput.conf
Find a part of the touchscreen, add the following statement inside, press Ctrl+X to exit, press Y to save.
Option "CalibrationMatrix" "0 1 0 -1 0 1 0 0 1"
5/ Restar your Raspberry Pi
sudo reboot
Complete the above steps for a 90 degree rotation.
Note:
0 degrees of rotation parameters: Option "CalibrationMatrix" "1 0 0 0 1 0 0 0 1"
90 degrees of rotation parameters: Option "CalibrationMatrix" "0 1 0 0-1 1 0 0 1"
180 degrees of rotation parameters: Option "CalibrationMatrix" "1 0 0-1 1 0 0 1"
270 degrees of rotation parameters: Option "CalibrationMatrix" "0-1 1 1 0 0 0 0 1"
How to use as PC monitor:
Connect the computer HDMI output signal to the LCD HDMI interface by using the HDMI cable
Connect the LCD's USB Touch interface (Either of the two MicroUSB) to the USB port of the device
If there are several monitors, please unplug other monitor connectors first, and use LCD as the only monitor for testing.
 ,
, ,
, ,
, ,
, ,
,
- Reviews (29)
-
comment
- Q & A
-
: Where is the origin of Elecbee products? Are they certificated?2023-03-03
-
Answer:
Elecbee has long-term cooperation agreements with the OEM factories in China. So that we are able to reduce the intermediate channel cost, and help you save money. Our products are all made strictly according to the relative global standard, to ensure the products have good compatibility and excellent quality.
2023-03-03
-
: What forms of payment do you accept?2023-03-03
-
Answer:
Our main payment methods include Paypal, Credit Cards, Debit Cards, Bank Transfer, and more to discover. Please choose the payment methods in your favor.
2023-03-03
-
: When will you arrange shipment?2023-03-03
-
Answer:
After confirming receipt of your payment. We will arrange the delivery as soon as possible and upload the courier number to the website for you to track.
2023-03-03
-
: How to exchange or return?2023-03-03
-
Answer:
1. You can apply to return within 30 days after receipt of the goods. Please make sure the outside package is intact, and the product is in its original condition. We will arrange your refund according to the relevant provisions once the package is received.
2. Return process: You Apply for a Return - Approve the Return - Arrange a Return - Receive the Products and make Inspection - We arrange a Refund;
3. We will bear the freight charges for returns caused by us, for instance, the quality problem. As to returns caused by the buyer, the buyer should be responsible for the shipping fee.
2023-03-03
Related Products
1770454
EB0048211
EB0049624

EB0049753
EB0049762

EB0049824


EB0050138
EB0050214